I have a bunch of really cool pictures that I want to get blown up and put onto some matted frames. Now some of these are ones that I took, and some are ones that the boys took. So tonight I started on the first one that I really like. It was taken a couple of years ago when we were in the process of taking our Christmas photo. I was trying to find ‘the perfect spot’ for our next Christmas picture and in the mean time the boys were getting tired of waiting for me and were just hanging out by the fire pit. It’s such a casual picture of both of them, I really like it. Now if you’ve never put a picture on a canvas before, it’s really easy. I snapped a couple of pictures while I was doing it to show just how easy it is.
The picture that I’m matting today is a 20 x 30 inch picture and I couldn’t find a canvas that was exactly the same size. So I found the closest one and made it work.
The first thing you do is to paint all around the edges and on the top of the canvas. You want to do this just in case the picture pulls up a little bit and to give it a clean edge. 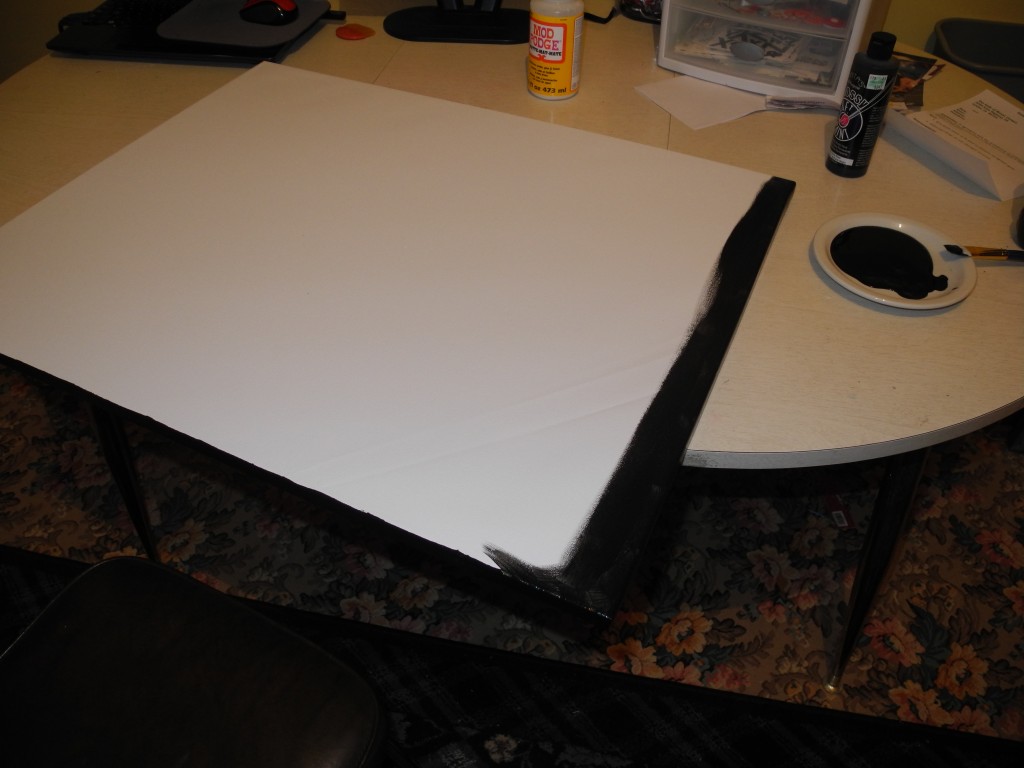
Then you have to let it dry and double check at this point to make sure that everything is covered by the paint. It’ so much easier at this point to repaint it than later trying to do it. 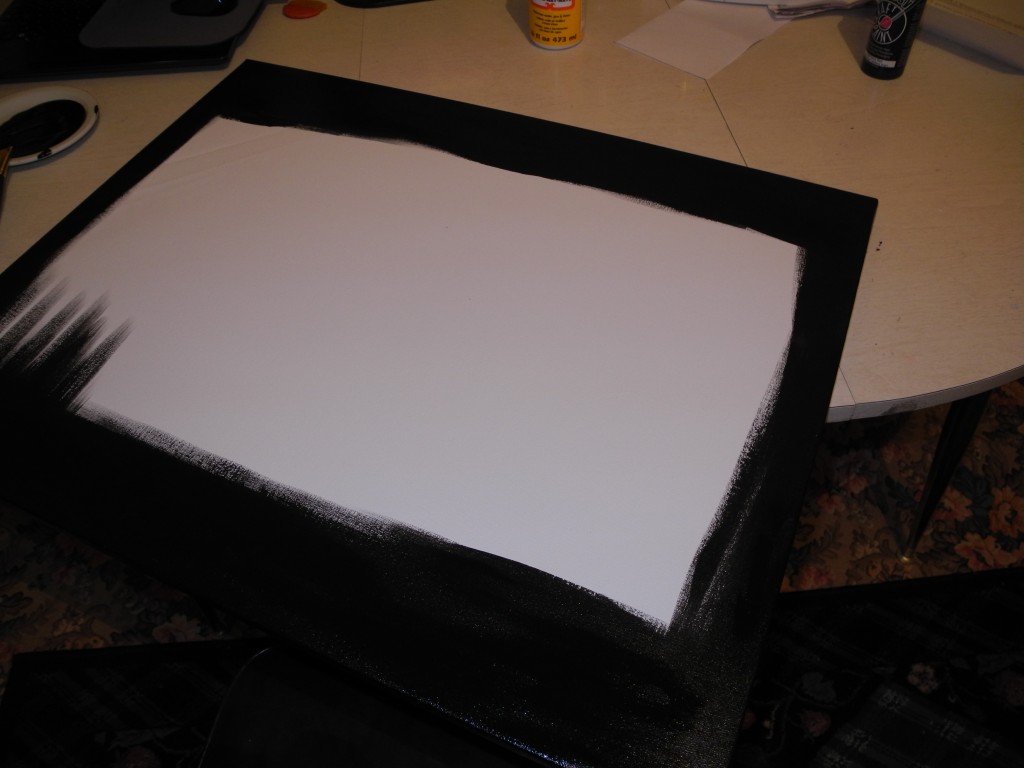
The next thing to do is to cover the canvas with Mod Podge. I found out that there are a lot of different types of Mod Podge to use and my favorite for this type of job is the matte finish. I really think it’s just what you like though and there isn’t one that’s better than the next one. But you do have to make sure that the canvas is completely covered and then put your picture on it. You’ll want to double check that it’s straight and then double check that there’s no air bubbles in it. If the picture is too big, use a craft knife to cut off any excess photo.
What’s next? Now this is the scary part. The first time that you do this you might freak out a little bit. What you do is to brush on the Mod Podge on top of your picture. It doesn’t look the best, but trust me that it’ll get better. Don’t forget all the edges and take a good look all over the photo to make sure that it’s all covered. On this photo, I literally dumped the Mod Podge on top of it and then spread it all over. 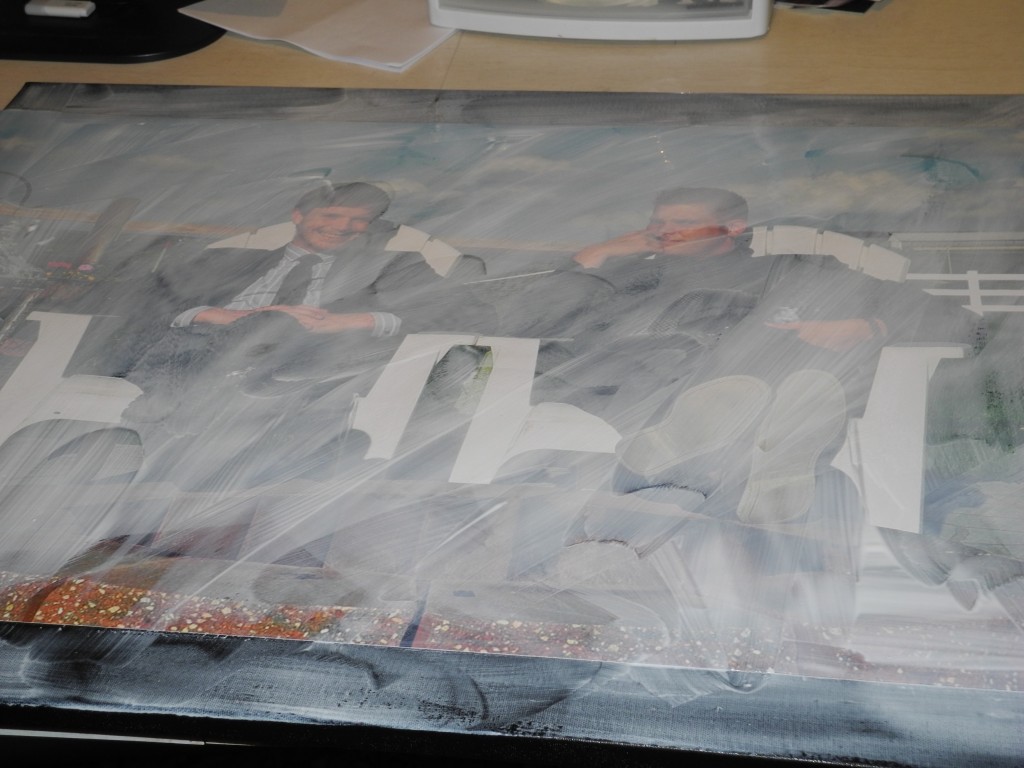
Once it’s dried – it looks like this! 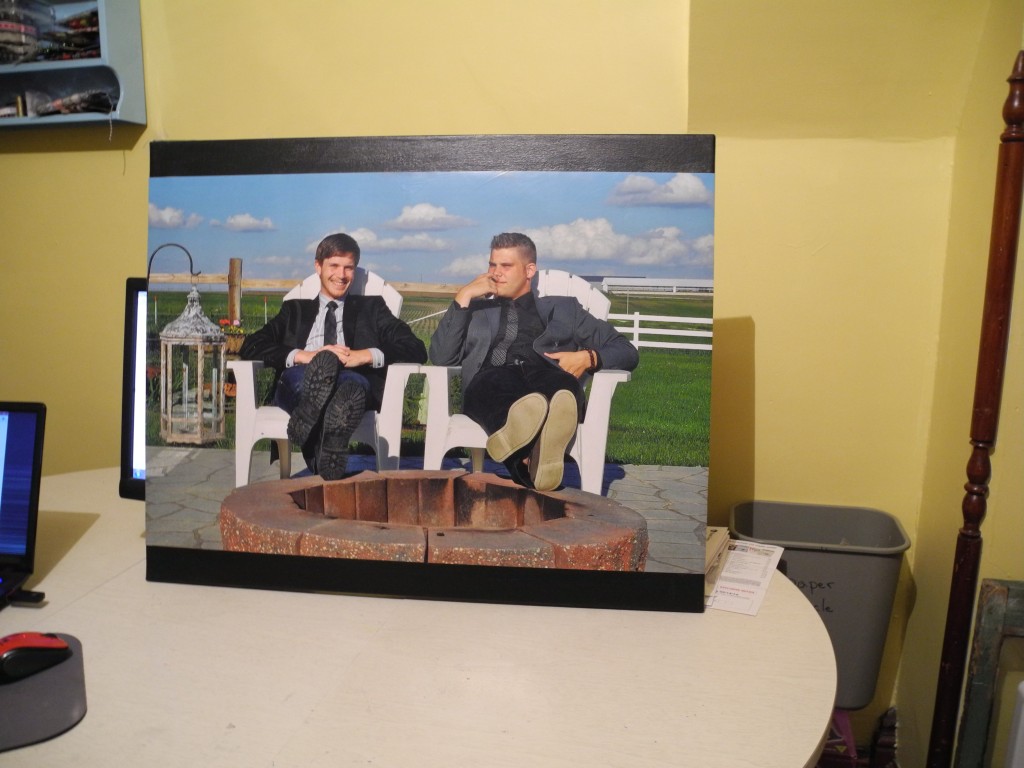 The more layers of the Mod Podge that you do, the different the photo looks. I think I’ll do at least one or two more coats on this before I hang it up.
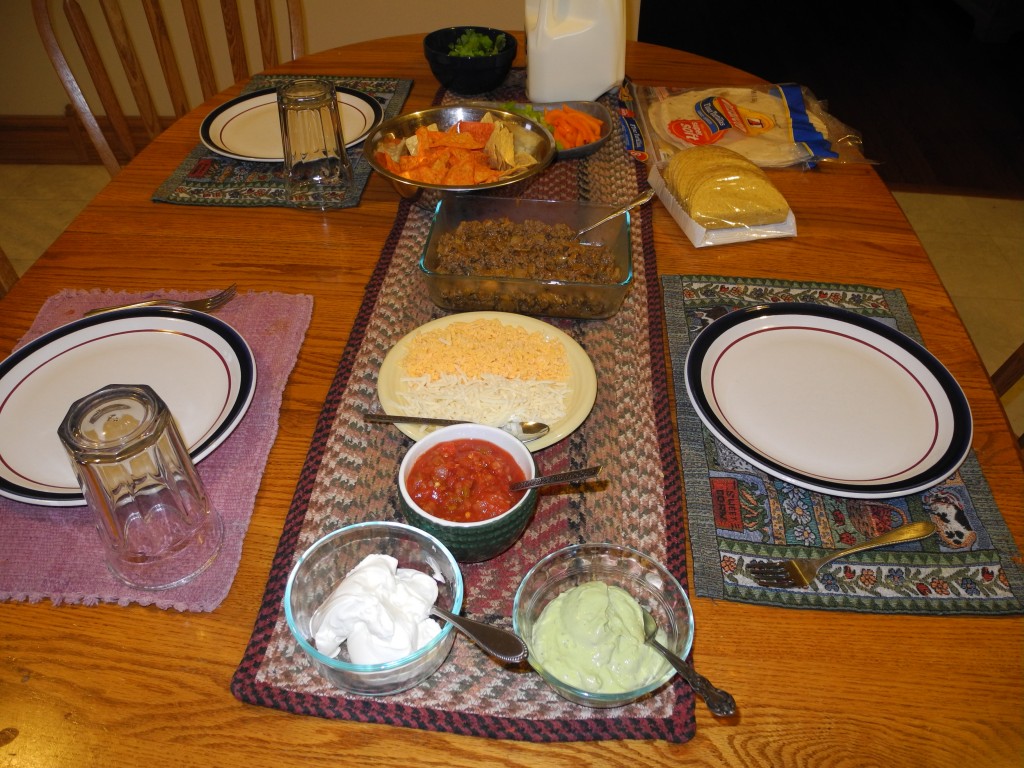
While I was working on this, Kyle was working on supper. Now I know that he’s anxious to get to Korea and start his job, but it’s a pretty sweet deal to have someone tell you that supper is ready and not only does it smell good but it sure does look good too!

That picture thing is really cool! I wondered how that was done.
Love that picture of the boys too:)
Thanks Sherry. Let me know if you are in the mood to make one and I’ll come over and help!